Ultra-Clear iPad Air/Pro Glass Protector: Fit & Install
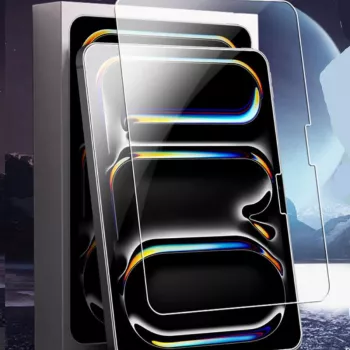
Ultra-Clear Tempered Glass Screen Protector for Apple iPad Air/Pro Models
A tempered glass screen protector helps keep an iPad display looking sharp while reducing the risk of scratches and minor impact damage. This ultra-clear option is designed to preserve brightness and touch responsiveness, making it a practical add-on for everyday carry, school, travel, and work setups.
If you’re ready to protect your display without changing how your iPad looks or feels, see the Ultra-Clear Tempered Glass Screen Protector for Apple iPad Air/Pro Models.
What This Screen Protector Is Made to Do
- Add a hard barrier between the iPad screen and keys, sand, desk grit, and everyday scuffs
- Help reduce the chance of cracks from light drops or bumps (impact protection varies by scenario)
- Maintain a clear view for reading, drawing, streaming, and video calls
- Keep touch input feeling natural for tapping, swiping, and Apple Pencil use (device-dependent)
Tempered glass is primarily about preventing the small stuff from becoming expensive: micro-scratches from grit, swirls from constant wiping, and incidental bumps that happen during commutes or classroom use. While no screen protector can guarantee your iPad won’t crack, a properly installed glass layer can absorb and spread some force before it reaches the display.
Ultra-Clear Viewing and Touch Feel
- High-clarity tempered glass is intended to keep colors and contrast looking close to the bare display
- Smooth surface helps fingers glide for gestures and gaming
- Works well for note-taking and sketching when consistent drag is preferred over softer film protectors
- Better resistance to visible micro-scratches compared with many thin plastic films
For iPad owners who read, edit photos, stream, or join video calls, clarity matters. Ultra-clear glass is built to stay visually “invisible” once installed, so text remains crisp and dark scenes don’t look hazy. The slick surface is also a big plus for fast swipes and multi-finger gestures—especially if you often use the iPad one-handed or while it’s mounted on a stand.
Compatibility Checklist Before Buying
- Confirm the exact iPad model name and screen size (iPad Air vs iPad Pro; different generations can vary)
- Check whether the iPad has a home button or a full-screen design; cutouts and borders can differ
- Verify camera and sensor area alignment (front camera placement differs across generations)
- If a case is used, ensure the case has enough clearance so it won’t lift the glass at the edges
Model match is the difference between a “drops on perfectly” install and a frustrating edge lift. If you’re unsure, Apple’s guide makes it easy to confirm your exact device: Apple Support — Identify your iPad model.
Quick fit check
| Check item | What to look for | Why it matters |
|---|---|---|
| Model generation | Exact iPad Air/Pro generation in Settings | Different dimensions and camera placement can affect fit |
| Front camera position | Top bezel vs landscape-edge position | Prevents blocking the camera and avoids misalignment |
| Case compatibility | Raised bezels or tight lips | Some cases can press on edges and cause peeling |
| Accessory use | Apple Pencil, keyboard, stand | Ensures no edge interference during daily use |
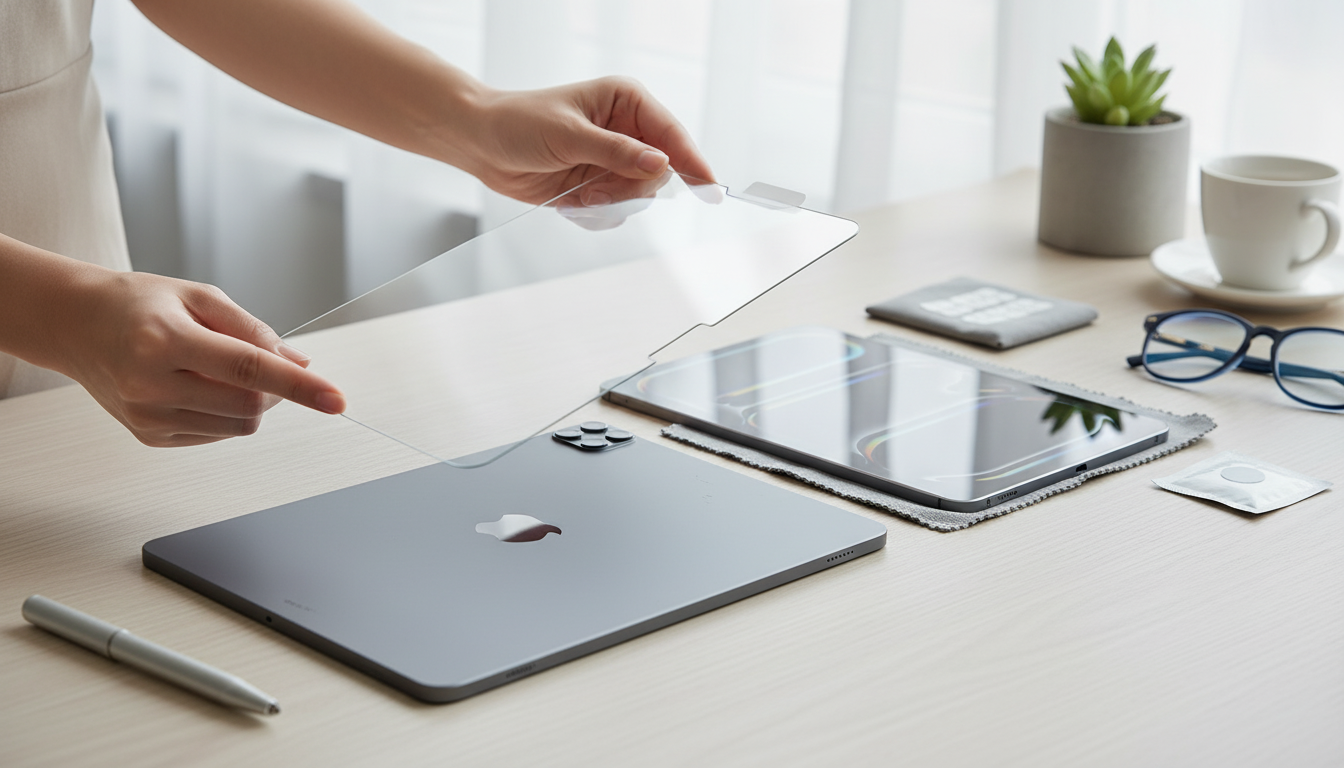
Installation Steps for a Clean, Bubble-Reduced Finish
- Wash and dry hands, then work in a low-dust area (a bathroom after a hot shower can help settle airborne dust)
- Clean the screen thoroughly with a microfiber cloth; remove any remaining specks with a dust sticker or tape
- Align carefully before lowering the glass—use the front camera cutout as a reference point if present
- Set one edge first, then let the protector settle downward; press from center outward to push air toward edges
- If a bubble has dust inside, lift that corner slightly, remove the particle with tape, then re-seat
Take your time with alignment. Once the adhesive grabs, shifting the protector repeatedly increases the odds of trapping dust. If you do spot a stubborn bubble, check whether it’s air (movable) or debris (stationary). Air typically pushes out with gentle pressure; debris needs the “lift and tape” approach.
Daily Use, Cleaning, and Longevity
Most day-to-day grime is just skin oils. A microfiber cloth usually handles it quickly. For deeper cleaning, follow safe care guidance to avoid damaging coatings or letting moisture creep into ports: Apple Support — Cleaning Apple products.
Tempered Glass vs Film Protectors
At-a-glance comparison
| Feature | Tempered glass | Plastic film |
|---|---|---|
| Touch feel | Smooth, closer to bare screen | Varies; can feel slightly tacky or soft |
| Scratch resistance | Typically higher | Typically lower |
| Impact buffering | Better for minor impacts | Limited |
| Thickness | Thicker | Thinner |
| Clarity | Very clear options common | Clear options common; may haze over time |
Who This Is a Good Fit For
What to Expect When Pairing With a Case and Apple Pencil
Shop In-Stock Picks
- Ultra-Clear Tempered Glass Screen Protector for Apple iPad Air/Pro Models
- 3D Wooden Racing Car Puzzle Kit
- Bohemian Hypoallergenic Imperial Jasper Stone Drop Earrings for Women
FAQ
Will tempered glass reduce touch sensitivity on an iPad?
Quality tempered glass typically maintains normal responsiveness. If touch feels “off,” it’s usually caused by misalignment, bubbles, trapped debris, or a protector that isn’t fully seated along the edges.
How can bubbles be removed after installation?
Push bubbles gently toward the nearest edge using a soft cloth or a card wrapped in microfiber. If a bubble is caused by dust, lift the closest corner slightly, remove the particle with tape, and reapply that section.
Is this compatible with iPad cases and Apple Pencil?
Most cases and Apple Pencil use are compatible, but tight cases can press on the protector and lift the edges. After installation, snap your case on carefully and check the perimeter; if lifting occurs, reseat the case or adjust the protector.


Leave a comment